Contracts - Add/Edit/View - General Information
![]() Updated
Updated
Suggested Prior Reading
General Information Overview
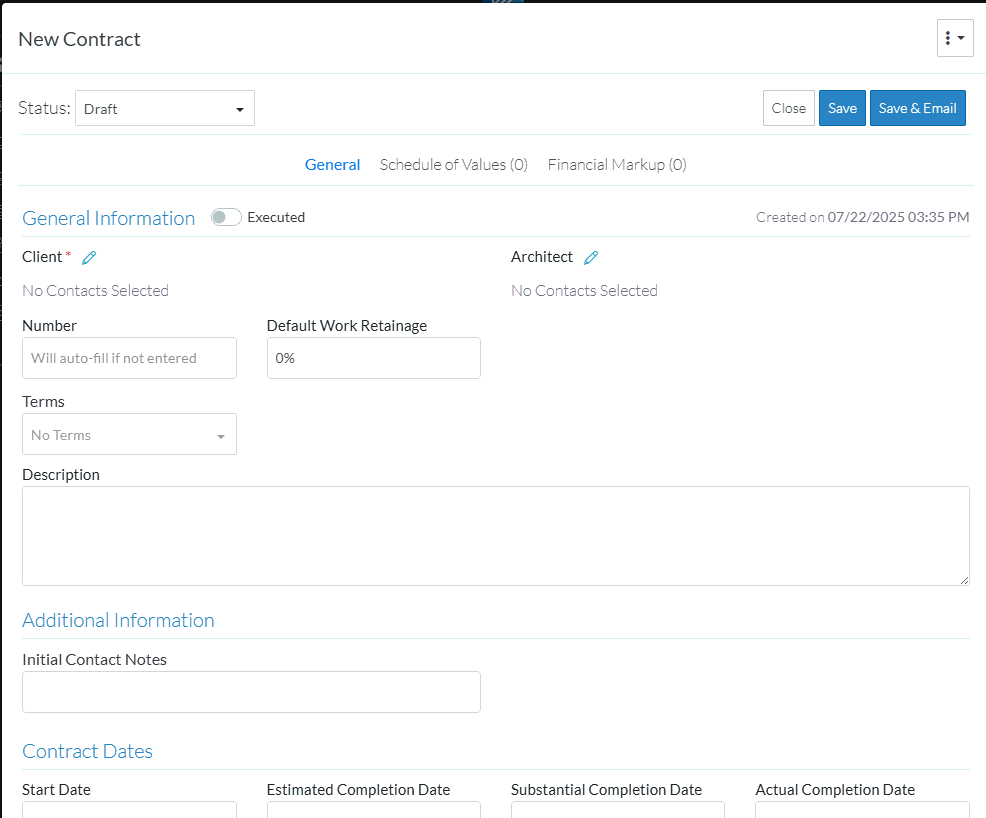
When adding or editing a Contract, there is a General form that has all the general information pertaining to the Contract.
The Contract General form has various sections.
This help pertains to the fields available for the General Information section on the Contract General form. (See Contract – New - Form Layout and Navigation or Contract – View/Edit - Form Layout and Navigation for more information).
- For New Contracts, all the General Information can be added.
- For Editing Contracts, the General Information section can only be changed if Contracts are in certain Status. See Contracts - Status for more details.
The following explains how to add or edit the General Information. The information is the same for new Contracts versus editing existing Contracts, however the functions/button are different on each of the forms. The following screen prints are for a New Contract, so editing a Contract will appear slightly different in terms of navigation menu options and function buttons.
The System Administrator can turn on/off visibility of some fields and/or set if the field is required or not. Therefore, the form may not appear exactly as displayed in the help (see Settings - Contracts - Contract Core Field Setting).
To add or edit General Information:
- From the New Contracts or Contracts - View/Edit form, click on General on the Form Navigation Menu Options (if not already selected).
- Add or change the General Information as described below.
See Contract - Data Settings for more information on each field.
Name | Description |
Executed | This option identifies whether or not the Contract is fully executed. There are also Execution Dates and Execution Documents that can be added. See Contracts - Add/Edit/View - Contract Dates and Contracts - Add/Edit/View - Executed Documents for more details.
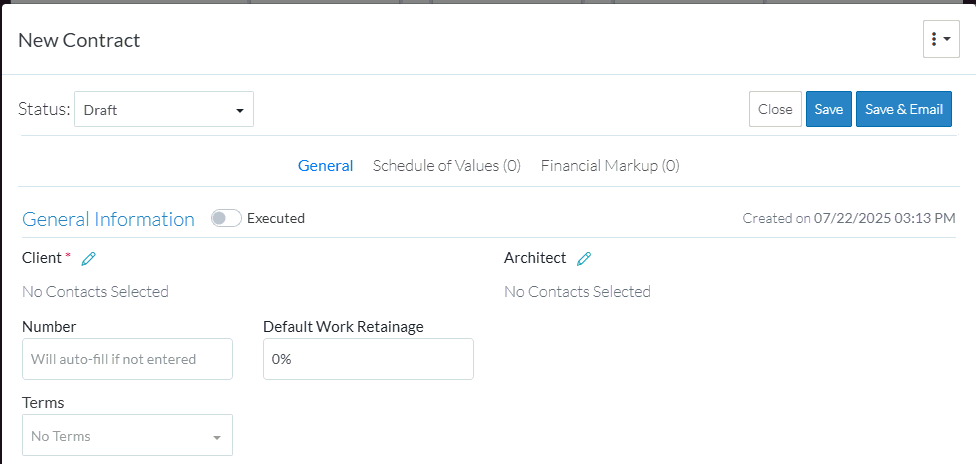 |
Client | The Client for whom the work is being done. This may also be called the Owner or Principle or it could be a General Contractor (whomever is financing the project). This is a required field. Any Invoices or Change Orders will have this auto-populated into it. To add a new Client or change the existing one:
The list of Project Contacts is displayed. If there is not a Client assigned, All Project Contacts display. If there is already a Client assigned, that Project Contact won't be listed. See Select Project Contact for more information.
 If there was previously a Change Order or Invoice created and the Client is changed, any Change Orders and invoices will be automatically updated with the new Client. |
Architect | The Architect for the Project. Follow the instructions above for adding or changing the Architect but clicking the Edit |
Number | The Contract Number. This can be manually typed in or the system will auto-populate this with a Contract number if it is left blank. The format of the Number is set by the System Administrator. See Settings - Contracts - Contract Settings. |
Default Work Retainage | This is the default retainage amount for work type items on the Schedule of Values. All line items created on any Invoices Schedule of Values will have this default work retainage automatically populated into it, but can be changed. Type in the number and it will automatically be set to a percentage. For example, entering "10" sets it to 10%. |
Default Material Retainage | This is the default retainage amount for work type items on the Schedule of Values. All line items created on any Invoices Schedule of Values will have this default material retainage automatically populated into it, but can be changed. Type in the number and it will automatically be set to a percentage. For example, entering "10" sets it to 10%. |
Terms | These are the terms applied to this Contract. Terms are pre-setup by System Administrators (see Settings - Contracts - Contract Terms). To add or change terms
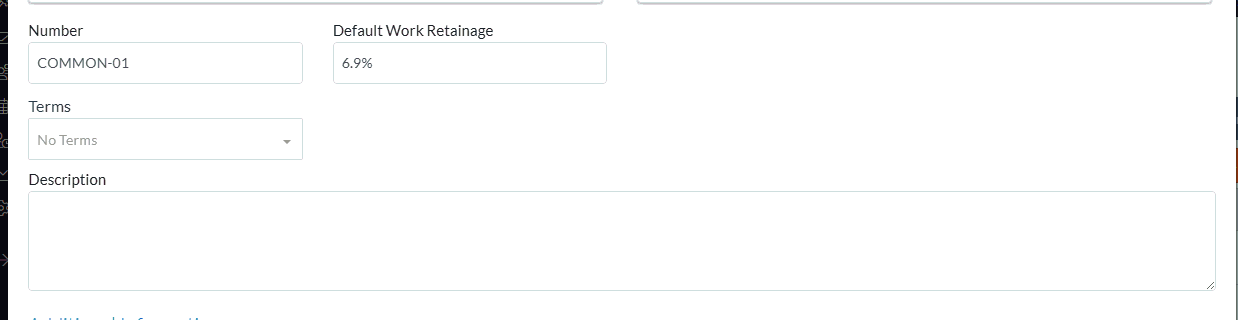 |
Description | This is a description about the Contract. |
 button next to the Client text.
 button.
- Add, Edit or View additional information on the Contract General form, see More Information below.
OR
Click the Save button when all the changes have been made.
OR
Click the Close button to not make the changes.
OR
If editing an Inspection, the Inspection can be deleted directly from this form, click the Delete button.
More Information
To change the status from the default of Draft, see Contracts - Edit - Status.
Enter or change the Additional Information, see Contracts - Add/Edit/View - Additional Information.
Enter or change the Contract Dates, see Contracts - Add/Edit/View - Contract Dates.
Attach or manage inclusion and exclusion documents, see Contracts - Add/Edit/View - Inclusions and Exclusions.
Add or manage Attachments, see Contracts - Add/Edit/View - Attachments.
Attach or manage signed documents, see Contracts - Add/Edit/View - Signed Documents.
Attach or manage executed documents, see Contracts - Add/Edit/View - Executed Documents.
Next Steps
Create or manage Contract Schedule of Values, see Contracts - Schedule of Values.
Create or manage Contract Financial Markups, see Contracts - Financial Markups.