Add a Budget Line Item Manually
![]() Updated
Updated
JobPlanner supports different processes for this to align to your organization.
One example was described previously.
Another example may be that the Budget is setup first and then as Contracts, Subcontracts, Purchase Orders or Direct Costs are created, they will connect to Budget Line Items via their Cost Code and Cost Types (and if the Budget wasn't setup with the Cost Code and Cost Type, the line item is created but flagged in yellow as described previously so it can be reviewed).
The following explains how to add a Budget Line Item manually,
To Add a Budget Line Item Manually
To Add a Budget Line Item manually before any Contracts, Subcontracts, Purchase Orders or Direct Costs are entered with a specific Cost Code and Cost Type:
- Click the + Add Line Item
 button.
The Add Budget Line Items form displays.
- Click the + Add Line Item button.
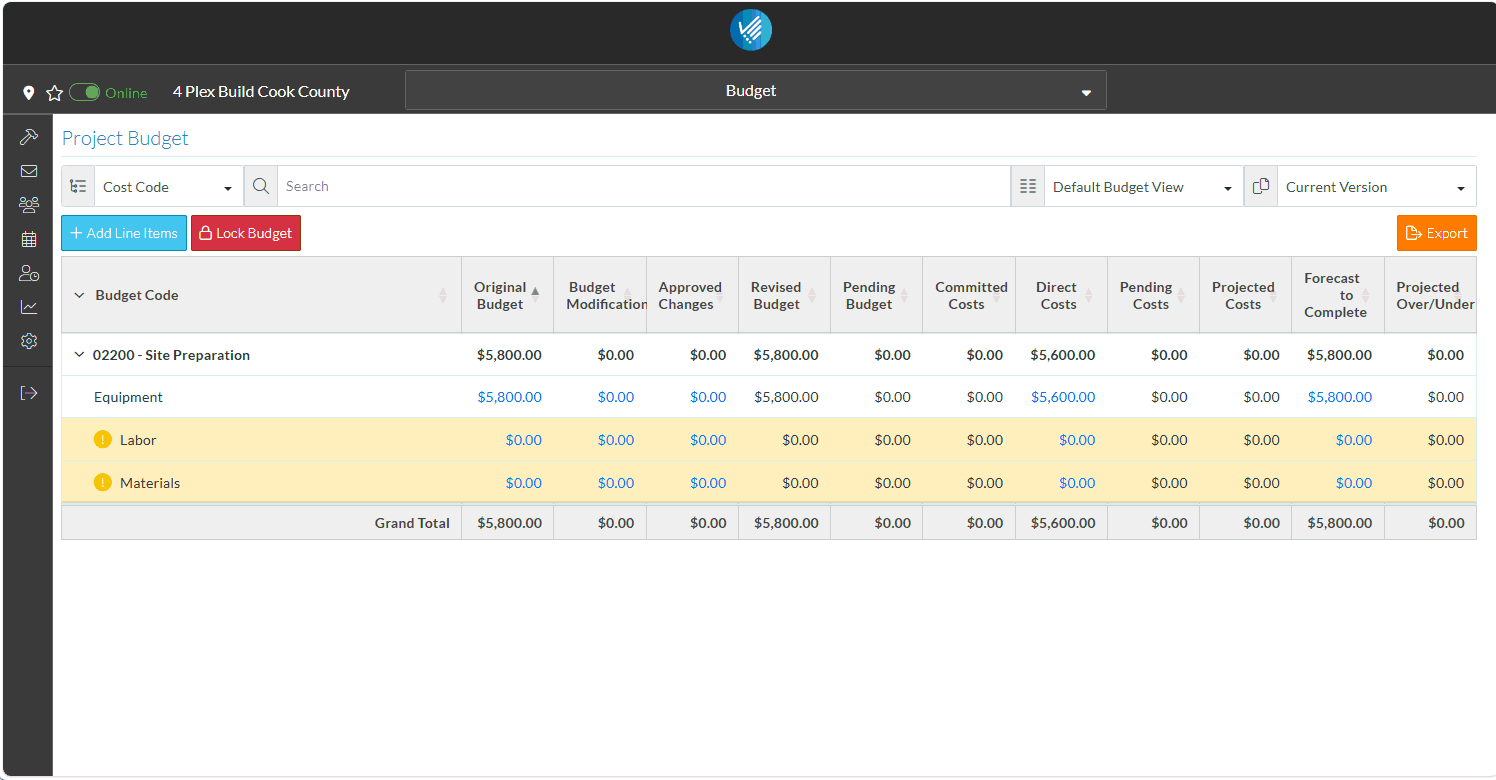
- Select the Cost Code from the drop down.
- Select the Cost Type from the drop down. Note* The Cost Types are organized by Budgeted and Unbudgeted.
- Enter a Description.
- Enter Hours (if required).
- Enter the Amount.
- Click the Save
 button.
The Budget Line Item is added.
The Grand Totals are displayed.

This is a high level introduction to Budgets, but there are many other features such as:
- Locking a Budget
- Importing a Budget
- Setting up different Budget views to see Contract values versus expenditures
- Maintaining Versions
Other processes are supported as well such as some organizations may create the Contracts with the Owners/Architects for the work. Get Bids and then update the Budget amounts with the negotiated value.