Page Navigation
![]() Updated
Updated
Lists are used throughout JobPlanner to display information. From the lists, different functionality can be invoked.
Lists can be searched and/or filtered to narrow the information displaying on the list. Details about this will be in the pertinent help for that list as it will vary per list.
Most lists will display a certain number of rows per page. See Rows Per Page.
If there is more than one page of information to display in the list (and according to the Rows per page to show), then there are Page Navigation options.
Page Navigation options may take different forms:

Or

They can appear at the top right and the top bottom of the list for easy access (depending on where you are in the list if there is a large number of rows displayed) or they could be at just the top or bottom of the list.
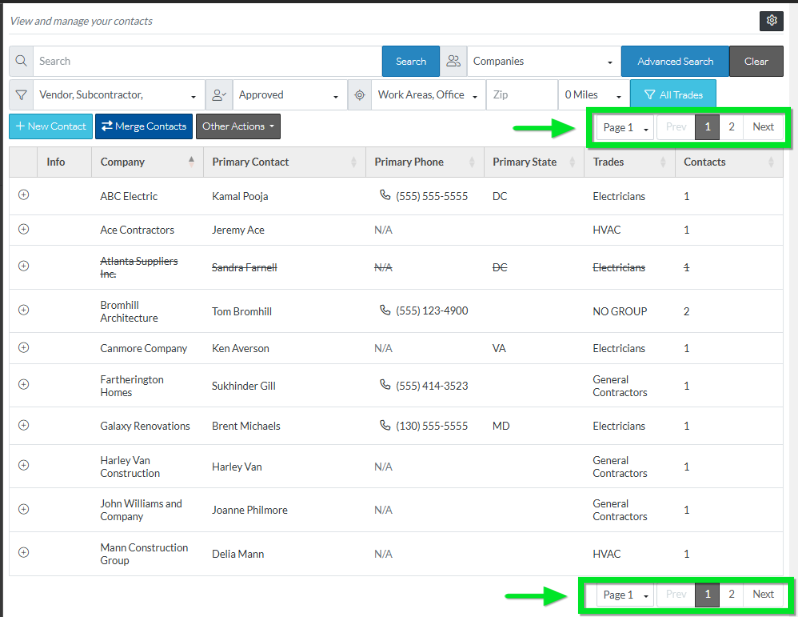
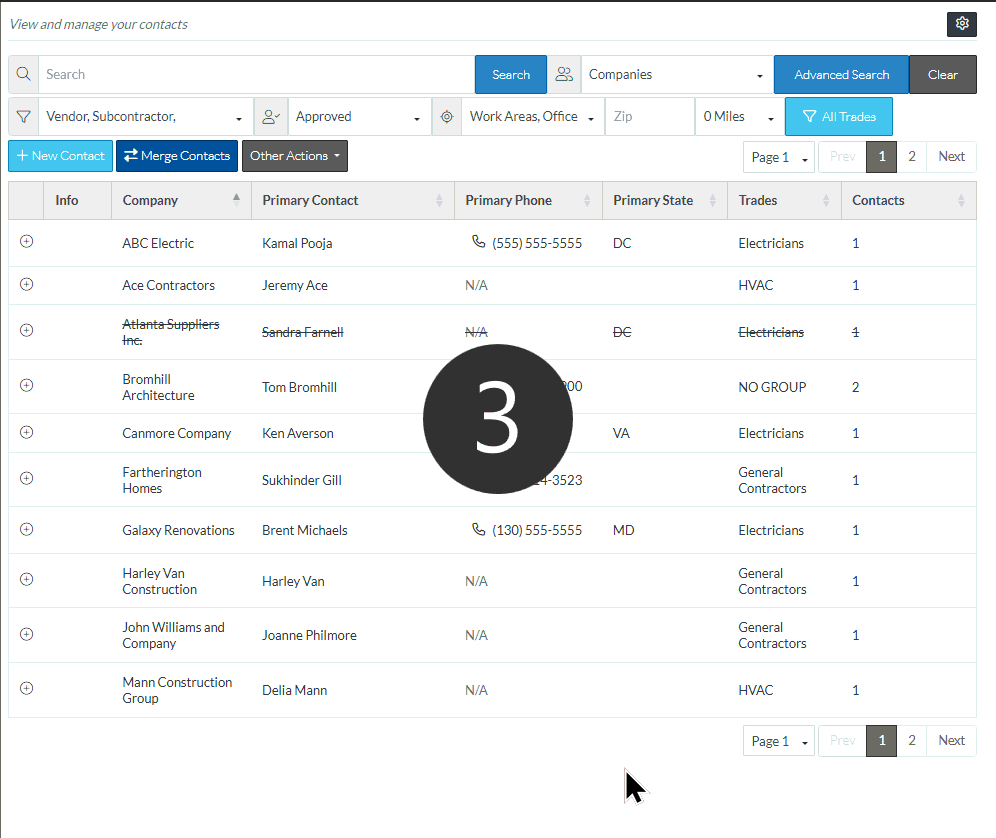
This example is for the Contacts list but is the same functionality for all lists.
The following are the steps to navigate the pages. The way the information is sorted will determine what rows appear on what pages.
- Click the Page Number button to go to a specific page. The pages will automatically roll forward if there is a large number.
- Click the Prev button to go to previous page.
- Click the Next button to go to the next page.
- If there is a Page drop down (this does not display on all lists), click in the drop down and choose the page.