Create your Account
![]() Updated
Updated
We require a bit more information to create your account. Fill out all the fields on the Create your account form.
Some of the fields may be pre-populated but can be updated as required.
More information on each field is available below.
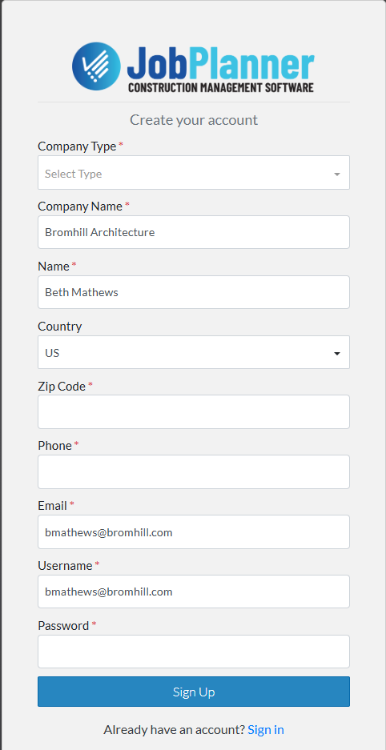
Company Type
The first step is to set your Company Type.
Click in the Company Type and from the drop down choose the one that best describes your Company.
Subcontractor - Trades
If you select Sub Contractor, then you must set the Trade(s) you provide.
A Trades field appears below the Email.
- Click in the Trades and from the drop down choose the Trade(s) that best describes your Company.
- Scroll through the list and click on a Trade to select it. A check mark appears in the far right to indicate its been selected.
- Click on more than one if required. Each selected will have a checkmark.
- Click the Done text in the top right of the drop down or click anywhere outside the drop down list. The Trades will be listed in the Trades field.
- To deselect a Trade, from the drop down list, click on the Trade again to remove the check mark.
- To search for a Trade, click in the blue search bar and type in the name or code of the trade to search for
- The list will be narrowed to show only those items that match. Click on them to select them as described above.

Company Name
This field is pre-populated with the your Company name as it is entered in JobPlanner.
You do have the option to change this if required and it will update the Company name in JobPlanner (Note* the change may go through an approval process before being accepted).
Name
This field is pre-populated with the your Name as it is entered in JobPlanner.
You do have the option to change this if required and it will update your name in JobPlanner (Note* the change may go through an approval process before being accepted).
Country
This field defaults to US, but to change it, click in the drop down and select the appropriate Canada.
Zip Code
Enter your zip code. If this is different than the zip code in Jobplanner, it will update the zipcode in JobPlanner (Note* the change may go through an approval process before being accepted).
Phone
Enter your phone number. If this is different than the phone number in Jobplanner, it will update the phone number in JobPlanner (Note* the change may go through an approval process before being accepted).
This field is pre-populated with the your Email name as it is entered in JobPlanner.
You do have the option to change this if required and it will update your email in JobPlanner (Note* the change may go through an approval process before being accepted).
User Name
Enter the User name, you want to use to sign into Jobplanner. This can be the same or different than your email.
Password
Enter the password, you want to use to sign into Jobplanner.
Sign Up
When all the information has been entered, click the Sign Up button near the bottom of the form.
What happens next: :
If you are a new User, creating an Account, start your Free Trial or access as a Guest User, see Free Trial.
If you are already a User signing in, see How to navigate JobPlanner.