New Project
![]() Updated
Updated
Adding a new project in JobPlanner is very simple. Basically all you need is a Project Name.
To add a Project
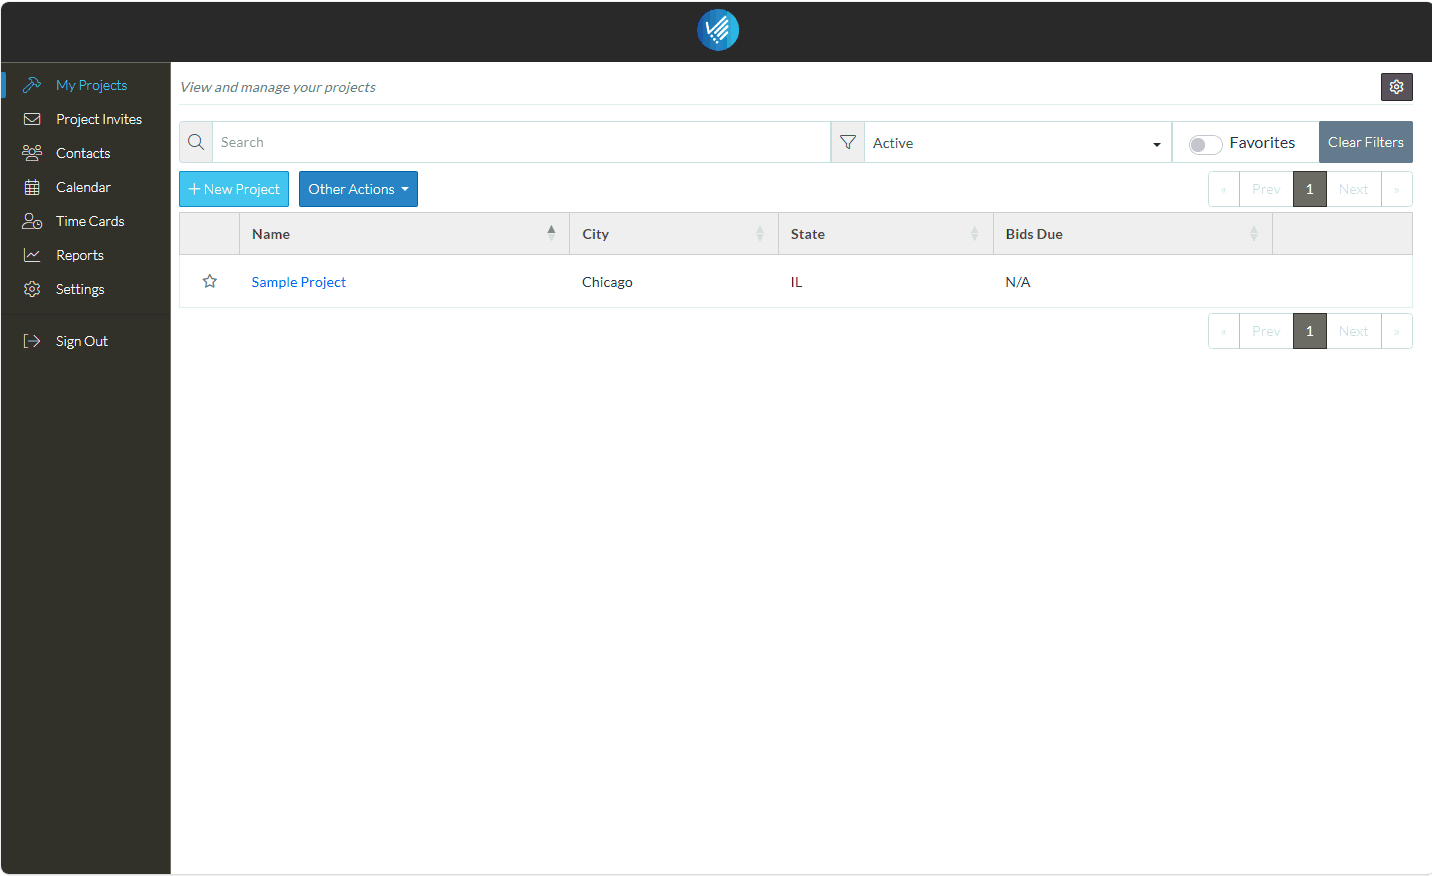
- From the My Projects list, click the + New Project
 button.
The Project Details form displays.
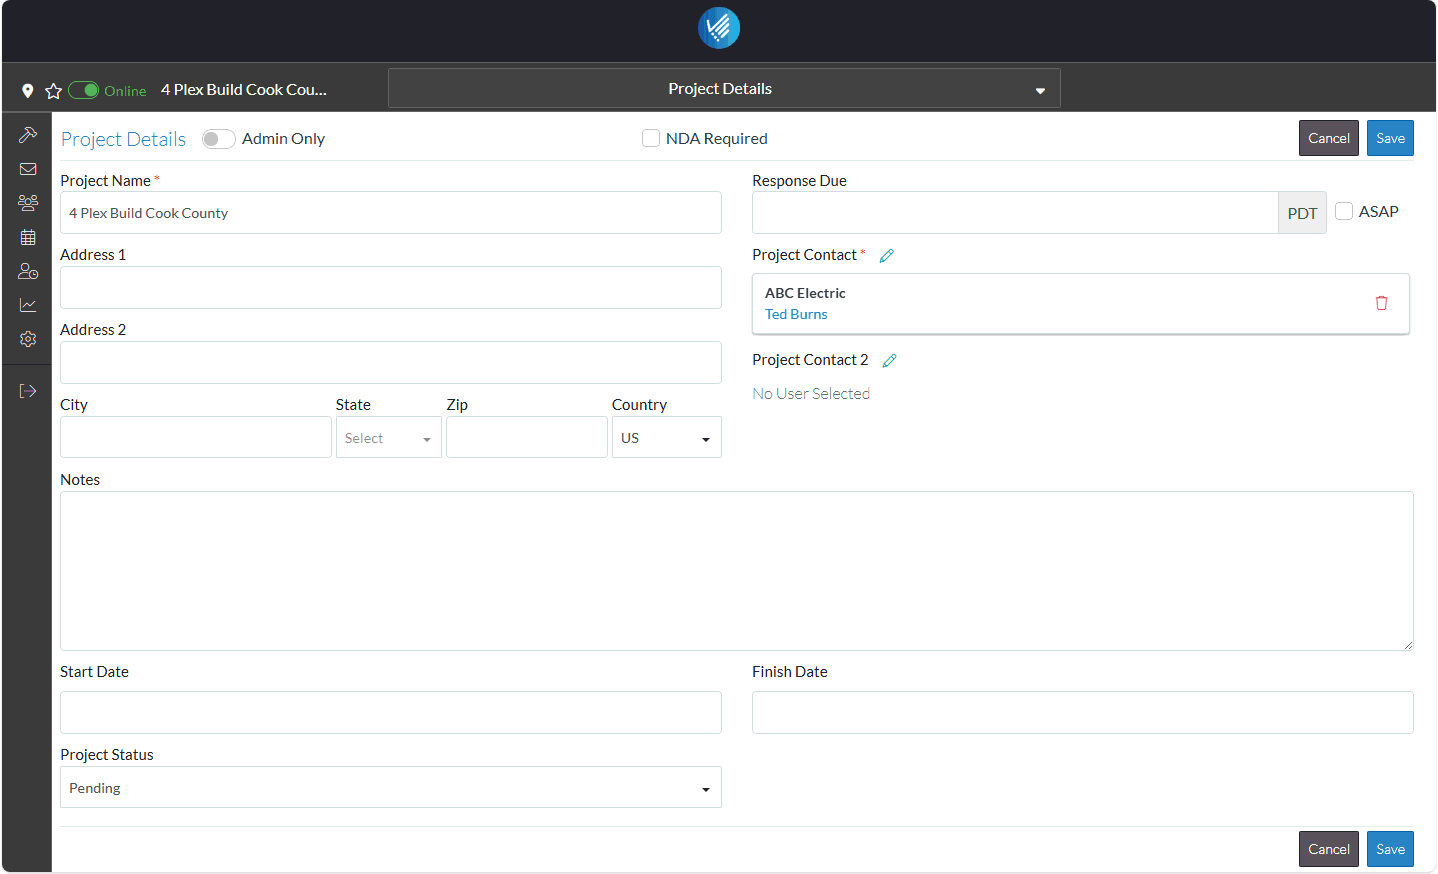
- Enter the Project Name. This should be descriptive enough so the project can be recognized by the name. The name appears on the list of projects.
The Project Contact is automatically populated with the User logged in. This is the person responsible for managing the project and it is automatically set to the user logged in so nothing else needs to be done.
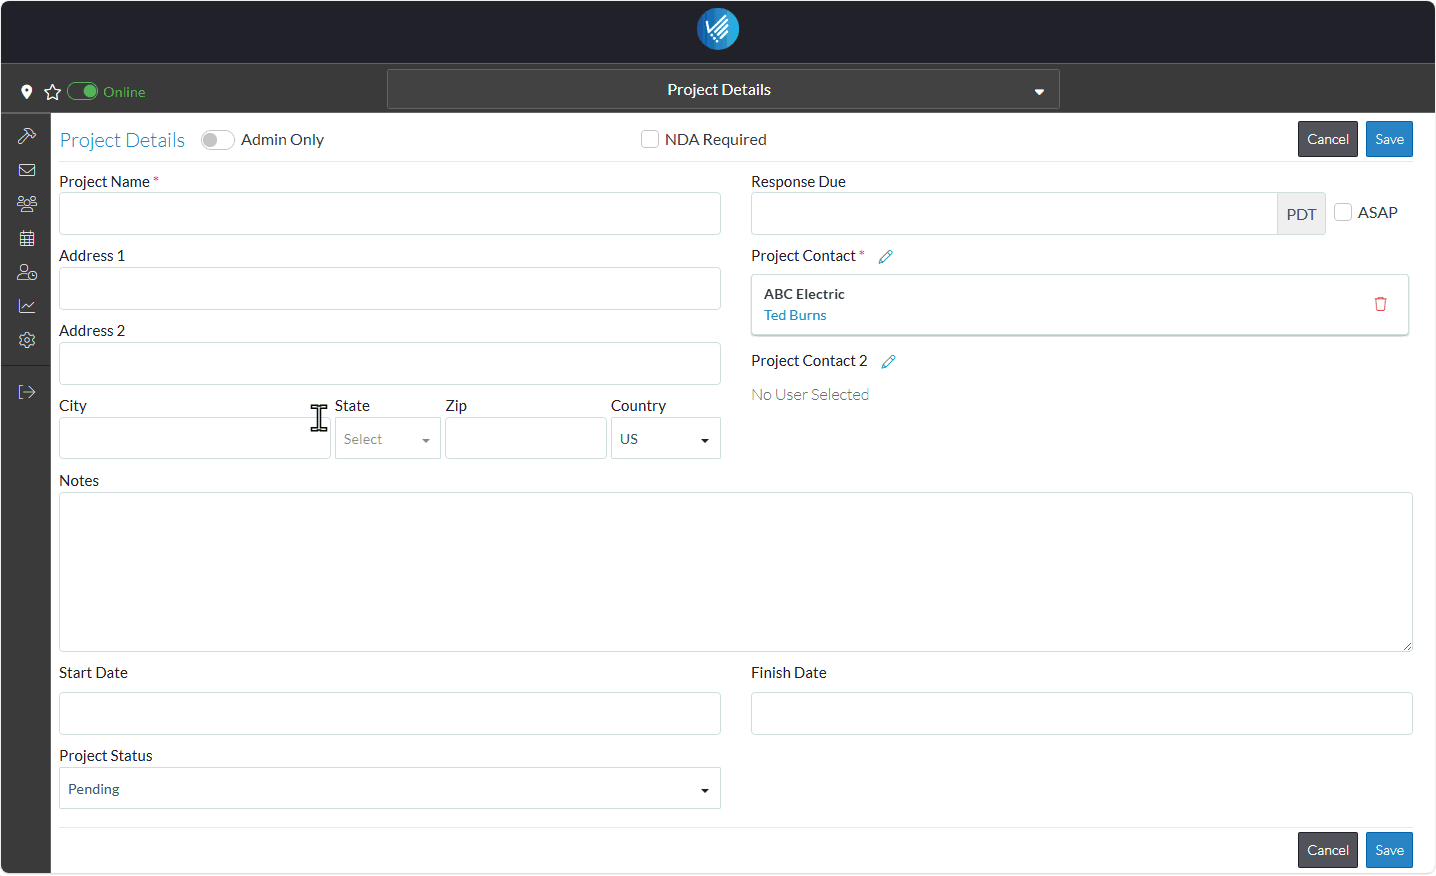
That's it. That is all the information that is required and the project can now be saved.
Note* JobPlanner is very configurable and other fields on this form can be set as being required, have their label changed to match your organizational processes and user defined fields can also be added.
- To finish adding the project, click the Save
 button. This appears at both the top and bottom of the form for easy navigation.
OR
Optionally, before saving, the City, State and Zip can also be entered. This is done to see how location and proximity works.
- Enter the City.
- Click in the State drop down and select the State from the list.
- Enter the Zip Code.
- Click the Save button at either the top or bottom of the form.
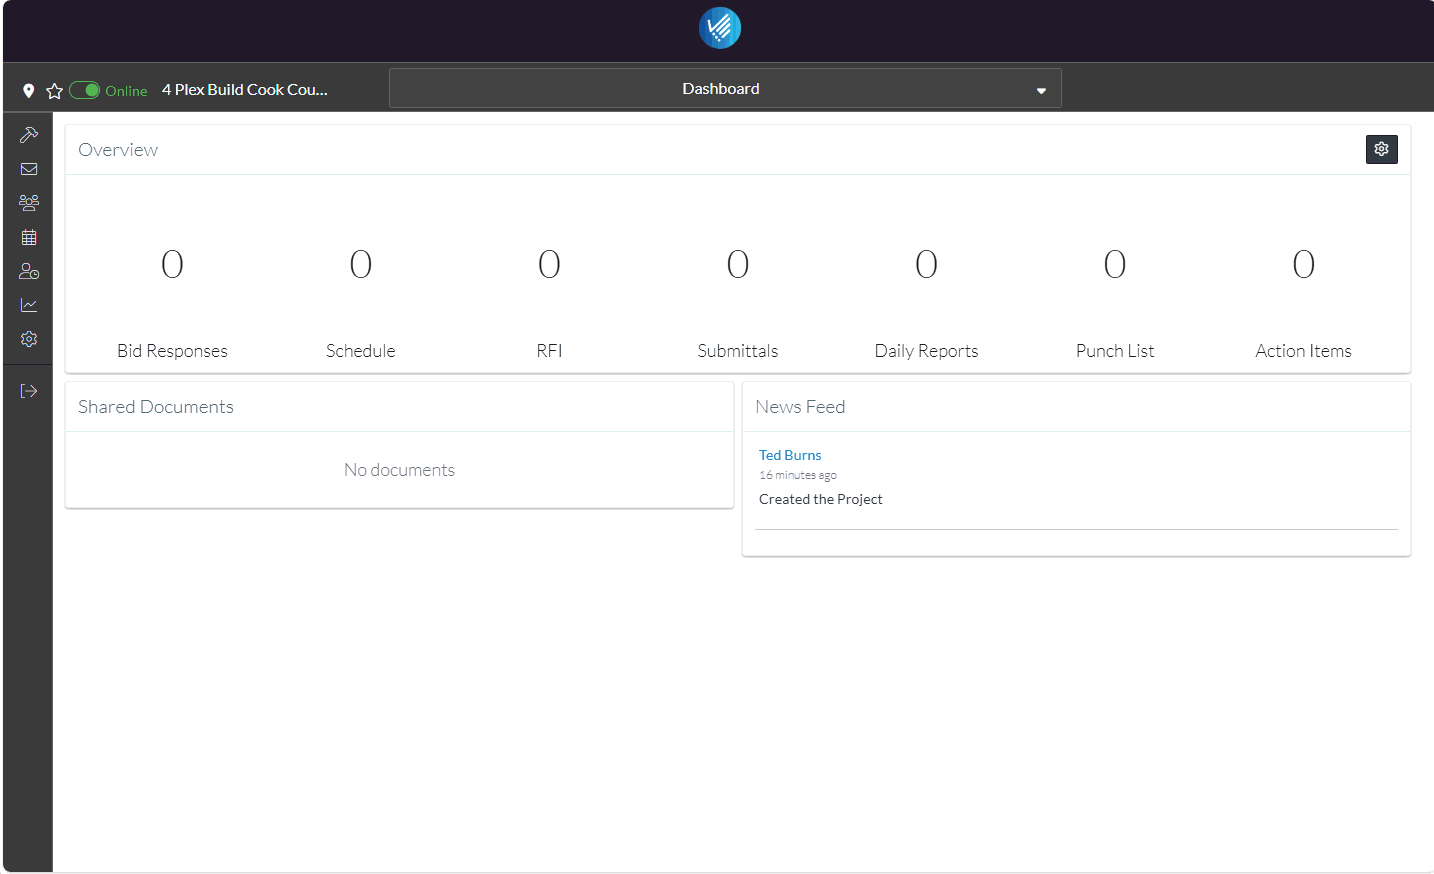
The Project is added and the Project Dashboard displays. As this is a new project, minimal information displays on the Dashboard. However, the News Feed does start to become populated with details about the project:
Next Steps
Review the Project Navigation.