Change Request - Schedule of Values - Bulk Actions - Send RFQs - Requests - Turn on/Off Send
 Updated
Suggested Prior Reading
Change Request - Schedule of Values - Bulk Actions - Send RFQs
Change Request - Schedule of Values - Bulk Actions - Create and Send RFQs
Turn on or off sending of a Request
This is help for the Send column for each Request. This pertains to the Requests section on the Send RFQs form (see the above Suggested Prior Reading for more information).
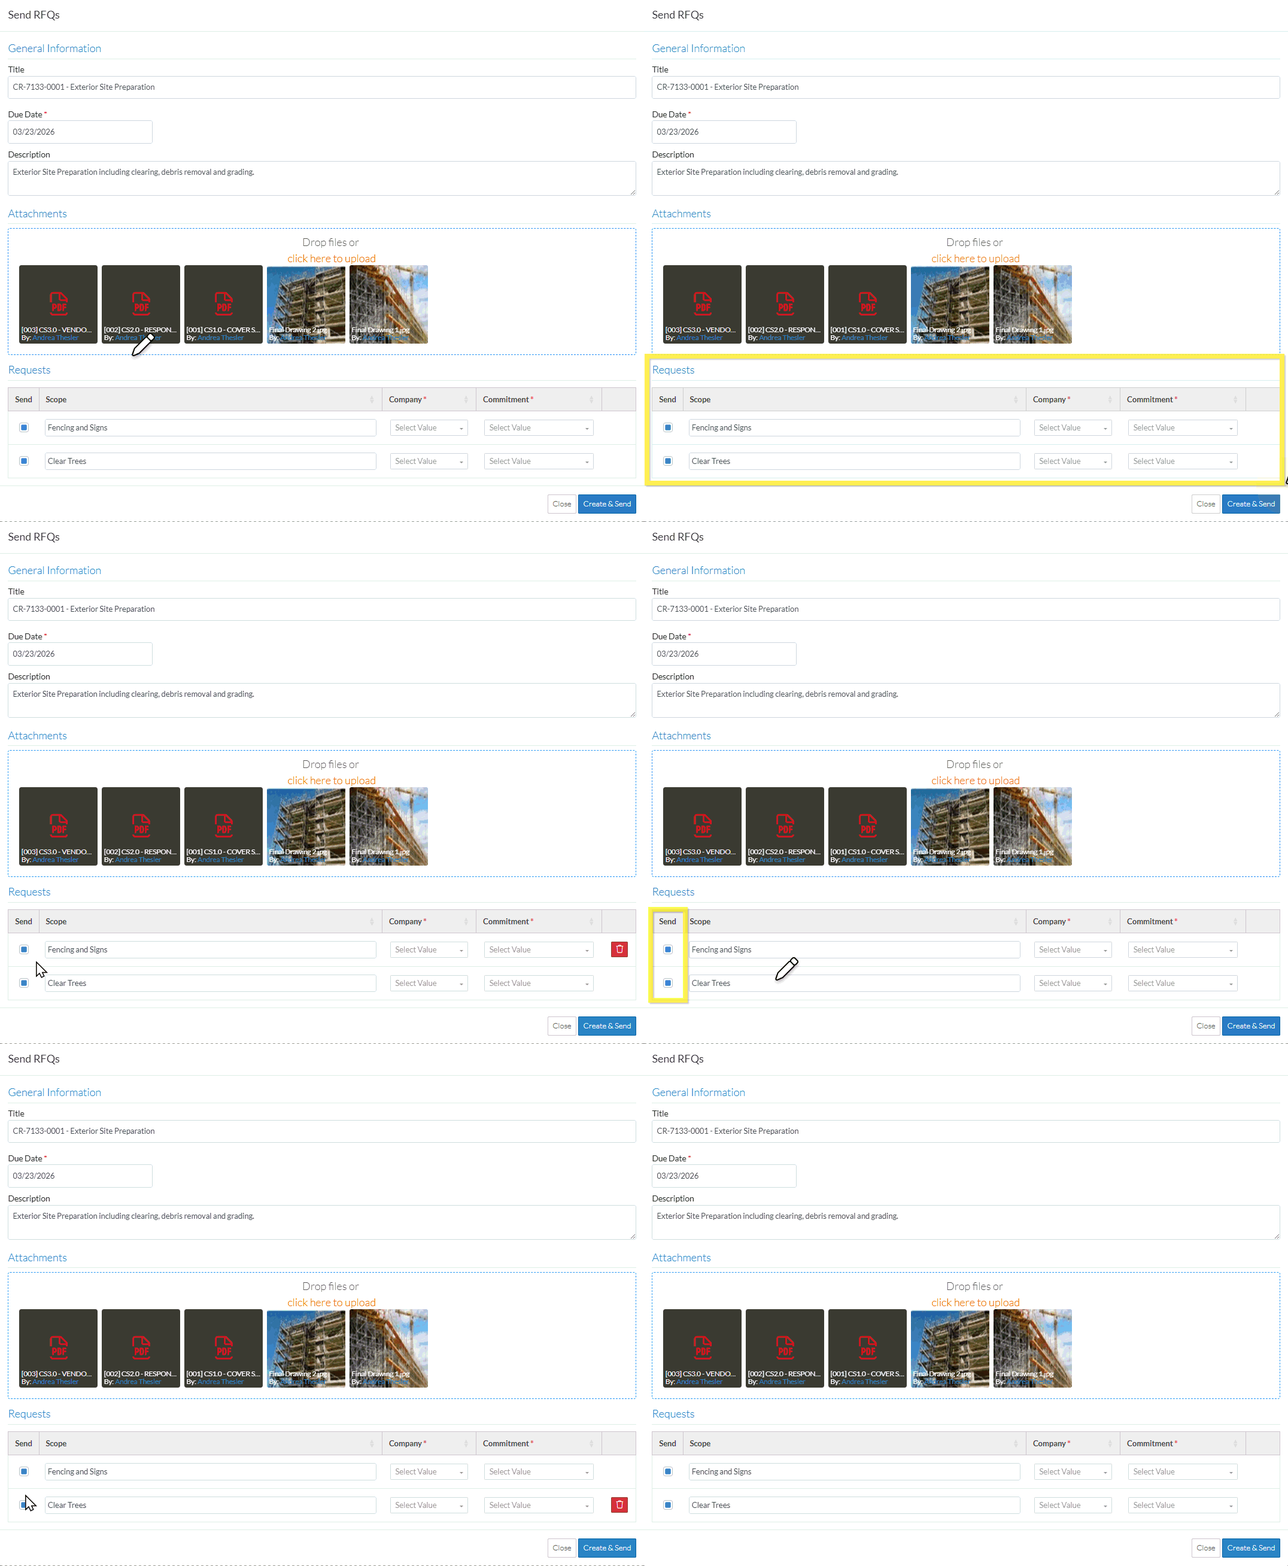
The Send column can be used to turn on/off sending of the RFQ (once its created) to the Company/Contact (if one is entered).
The Request is set to be sent by default to the Company/Contact selected i.e. the Send box is filled in blue. It can be clicked on to remove the selection i.e. the box is white.
Only requests with this box filled in, (blue) will have requests sent.
NOTE* Regardless of the Send setting, the RFQ will still be created. Once its created it will be automatically sent to the Company/Contact if the Send option is filled in (and the Company/Contact is entered). If the Send Option is not filled in, it won't be sent to the Company/Contact. If no Company/Contact is entered, then this option has no impact, the RFQ will just be created without a Company/Contact or Distribute To.
- If required, click on the Send box for a Request to turn it on or off for creating and sending.
- To maintain other information about Requests:
- To edit the information for a Request before sending it, see Change Request - Schedule of Values - Bulk Actions - Send RFQs - Requests - Edit.
- To delete a Request from the list, see Change Request - Schedule of Values - Bulk Actions - Send RFQs - Requests - Delete.
- If required, add or change the General Information, see Change Request - Schedule of Values - Bulk Actions - Send RFQs - General Information.
- If required, add or delete Attachments to be included with the RFQ and to be sent to the Subcontractor or Vendor, see Change Request - Schedule of Values - Bulk Actions - Send RFQs - Attachments.
- To create all the selected Requests and send each to the Contact for the Company, click the Create & Send
 button. The Change Request View/Edit form displays with the RFQ component showing the newly created Change Requests. See Next Steps below.OR
Click here for more information on the Create and Send function
A separate RFQ will be created for each Line Item in the Requests section that had the Send box filled in.
The RFQ information is set as follows:
If a Company or Commitment was entered, that will be set to the Vendor/Subcontractor Company for the RFQ.
If a Company or Commitment was entered, that will also be set as the Assigned To for the RFQ.
The Distribute To will be set to the Project Manager or Estimator who created the RFQ.
The Title is set to the Title.
The Number will be automatically generated.
The rest of the General Information Title, Due Date and Description will be automatically populated and be the same for all RFQs created.
The Scope is set to the Scope for that Line Item.
Any Attachments entered will be copied to all RFQs created.
If the Send option is filled in blue and a Company/Contact is entered, the Request for Quote will be automatically sent to the Company/Contact.
Click the Close button to cancel creation of the RFQs.
Click here for more details on the Close function.
If the Close button is invoked, a message displays with a prompt to ensure that the creation of the RFQ should be cancelled.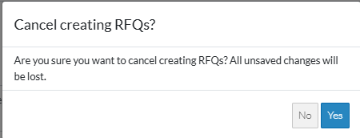
If No is clicked, the Send RFQ form displays. See the steps above for maintaining the Requests.
If Yes is clicked, the creation of the RFQs is cancelled and the Change Request Schedule of Values component is displayed. See Change Request - Schedule of Values - Overview.
