Sub Job - Add
![]() Updated
Updated
Suggested Prior Reading
Adding a Sub Job
Once Sub Jobs are enabled on a project, there are two steps to adding a Sub Job:
- Add the Sub Job information (Name, Code, Description).
- Setup the Cost Codes and Cost Types that are applicable for that Sub Job.
To Add a Sub Job
- Navigate to the Cost Code list, see Accessing Cost Codes.
- Turn on the Sub Jobs if not turned on, see Sub Jobs - Enable.
- Click the + Add Sub Job
 button
The New Sub Job form displays.
- Enter the Name of the Sub Job. This appears in drop down lists there the Sub Job can be selected.
- Enter the Code for the Sub Job - this must be unique. This appears in drop down lists there the Sub Job can be selected.
- Enter the Description of the Sub Job. This is to help better describe what this Sub-Job is and only displays on the Sub Job List.
- Click the Save
 button to save the changes.
OR
Click the Close  button to cancel the add.
Setup Cost Codes
If saved, the Cost Codes form displays with the new Sub Job listed.
There is a column called Cost Codes, that shows the number of Cost Codes setup for this Sub Job. After the initial add, it will be set as 0 Cost Codes. This text is also a clickable link.
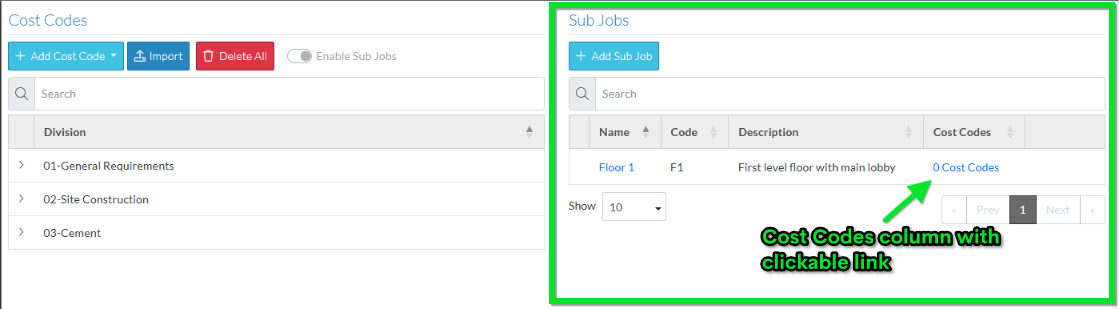
- To setup Cost Codes, click on the Number of Cost Codes clickable link in the column for the Sub Job.
The Sub Job Cost Codes form displays.
More Information
See Sub Job Cost Codes - Overview for more information on adding and managing Cost Codes setup for Sub Jobs.
Next Steps
Edit a Sub Job, see Sub Job - Edit.
Delete a Sub Job, see Sub Job - Delete.