Settings - Projects - Project Message Status - Colors
![]() Updated
Updated
Suggested Prior Reading
Settings - Projects - Project Message Status
Settings - Projects - Project Message Status - Add/Edit/Delete
Settings - Projects - Project Message Status - Columns
Status Colors and Order in the process
The Project Message Status is where the different statuses that can be assigned to the Bidding process are maintained so they can be used to manage the Bidding process (see Bidding - Managing). There are different types of status:
- Status of the Bid (to reflect its stage in the Bidding process). This includes:
- System Predefined Status(es)
- User Defined Statuses
- System Controlled Status (automatically set to reflect activities the Bidding Participant has done).
See Settings - Projects - Project Message Status for more information.
For System Predefined Statuses and User Defined Statuses, a color can be assigned for easy identification of that Status.
When a Company, Contract or Contact Trade is assigned that status, they will display highlighted by that color. That color also appears in status bars as an easy visual indicator.
Colors may be automatically set, when a child item status is changed. See Settings - Projects - Project Message Status - Order for more information.
This help explains how to set the colors for a status.
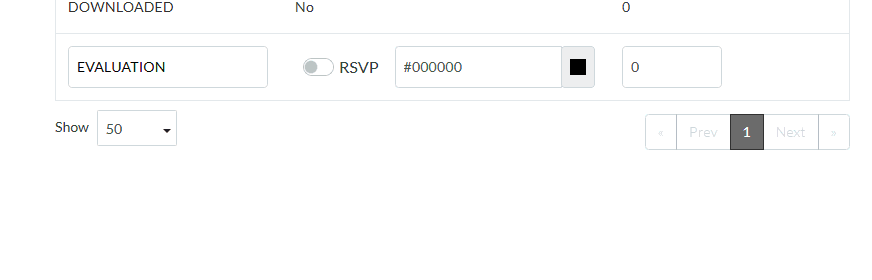
This setting doesn't show in the grid until the Project Message Status is being added or edited. However, the Status text displays with that color. When a Status is being added or edited, the color changing bar appears.
Set the Color of the Status
- Access the Project Message Status settings, see Settings - Projects - Project Message Status - Add/Edit/Delete.
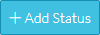
- Click the Add Status
 button OR click the Edit
  button in the far right column on the row of the Status to edit.
 - Enter the hex code for the color, type in the hex code. The status text and the color button updates to show the color selected
OR
- Select the color from a color grid
- Click on the color button. The color grid appears.
- Click in the color slider bar on the right hand side to get in the general color vicinity or use the slider bar to scroll up and down the slider bar to get into the general color vicinity
- In the associated color grid, click on the exact color. The hex code displays
- Change other information about the Status, see Next Steps below.
OR
Click the Save  button on the row to save the changes.
OR
Click the Cancel  button to cancel any changes.
Next Steps
Change the RSVP setting, see Settings - Projects - Project Message Status - RSVP.
Set or change the Activity Score (if required, this is an advanced setting), see Settings - Projects - Project Message Status - Activity Score.
Set the Display Order of Statuses in drop down lists, Settings - Projects - Project Message Status - Display Order.